BEFORE
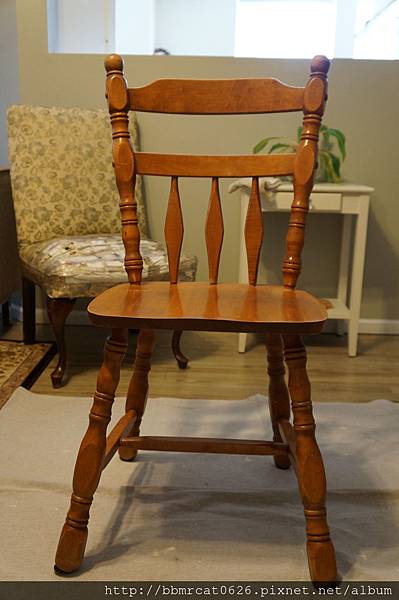
I found this pair of dining chairs in a local thrift store. (The other one didn't make into the photo.)
I like the frame and the detailed carvings, as well as, the strong and heavy solid wood material which would make the chair a perfect example of how a little paint can transform the look and the feel of an entire room.
HOW you said?
Here are the steps:
Step 1: SAND (optional)
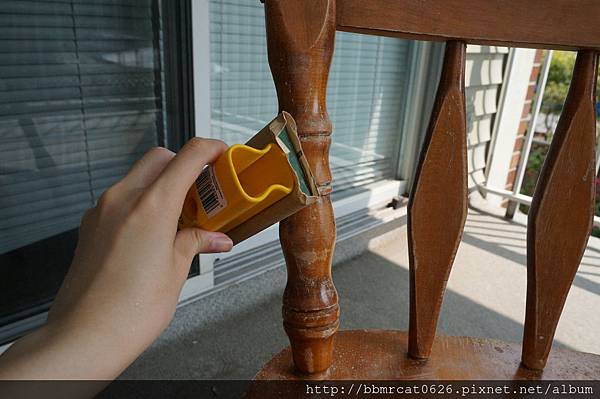
Even though chalk type paint said NO sanding and NO priming required before painting, I would still suggest to sand your piece before taking out your paint brush.
WHY?
After test-driving few of my own piece of furnitures, I found out if your furniture still has that sheen on the surface meaning the original layer of protection, ie. lacquer, is still goign strong, the paint will not be able to coat that specific area very well.
But don't be stressing out now since you only have to do a light sanding, sand paper or sanding sponge will do the job.
The purpose is to sand off a thin layer of any surface protection so no need to take out the eletrical sander!

Another important thing is to get a damp cloth and do a good wipe to clean off any dirt and dust that was sticking on the chair.
Step 2: PAINT
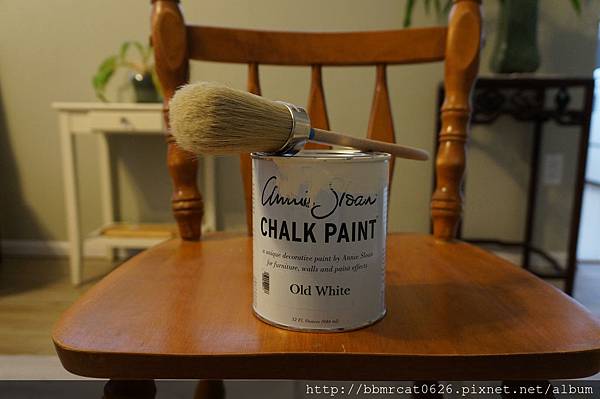
Finally, after a little bit of detour, happy to be back on track to do my favourite thing - PAINT.
Today, I'm using Annie Sloan Chalk Paint in Old White color on my dining chairs.
As for shabby chic style, the antique white type of color is like a basic, fool-proof color to try on when this is your first time DIY chalk paint your own furniture.
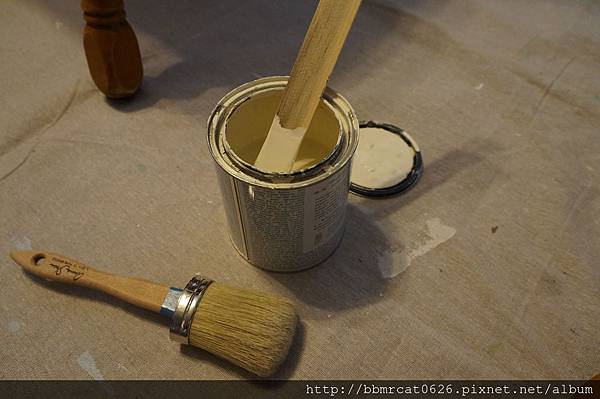
Since the texture of a chalk type paint is quite thick, remember to give the paint a nice and slow stir to mix up the paint if the paint has been sitting on the shelf for a long time.
Unless it's a newly purchased can and your supplier has shaken the can quite well in the store then there is no need to stir.
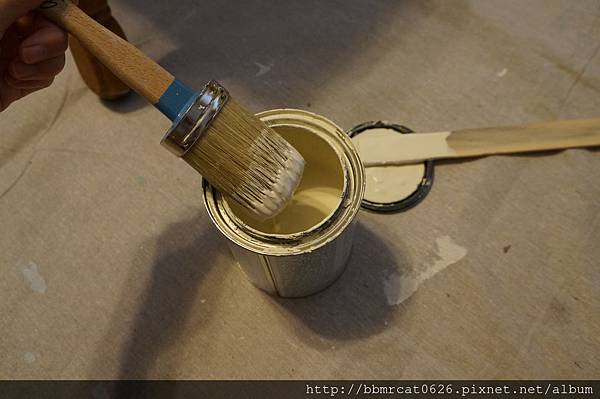
Chalk type paint provides good coverage so a little goes a long way.
Since chalk type paint is odour-free and has low VOCs, it's ok to use indoor.

There is no rules on how to paint with chalk type paint.
There is no specific ways you have to follow.
Just simply have fun with the paint.
However, since chalk type paint dries really quickly, there's only one small thing to watch out for, do NOT go back to the area you have already painted and it's already half dry, it will disturb the half-dried paint and leave heavy brush stroke marks, especially when you just want to create a clean-line look.


With just one coat, brush strokes are obvious and the original wood color is still bleeding through.
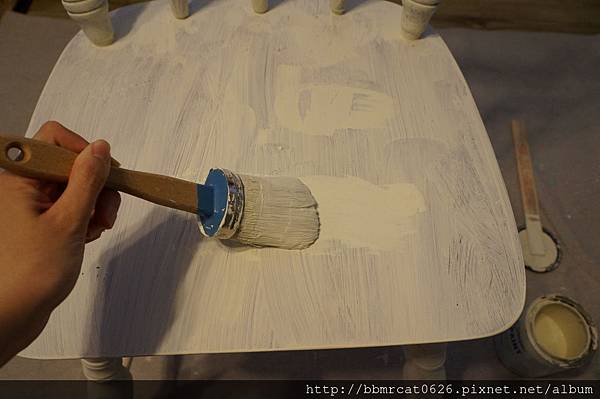
So I went on to put a second coat on my dining chairs.


I was still not satisfied with just two coats of paint so I took out my paint brush the third time to give the chairs a heavy coat of white paint since I don't want to see any of the wood color bleeding through at all.
Step 3: SAND

Supposedly, according to a lot of chalk type paint makers as they exclaimed on their products, this should be your first time to take out any sanding related supplies.
But to me, I really don't want to be painting half way through and realize I need to sand a certain area to get the paint coated on nicely.
For sanding part, if you only want to smooth out the surface and to get rid of that chalky texture when feeling your furniture, a light sanding will do.
No need to put pressure on the area you sand over becuase you might accidentally sand off the paint and reveal the wood underneath when you only want a clean-line look.
If you like the distressing look, which is a must for shabby chic style, I'll suggest to use 180-grit or lower sand paper or sanding sponge depends on how much paint you would like to take off and how distressed you are aiming for.
I chose 320-grit sand paper for this project since I'm not distressing the chairs.
One little thing I learned along the way about sanding is to use a wet cloth and wipe down the area you are about to sand then sand, and use the wet cloth again to clean away the dust right after you sand over the area, this way you will result in less dust flying around and help in creating a more natural distressing finish.
I now use wet sanding sponge instead of sand paper and wet cloth combination because sand paper gets easily torn apart when it is wet and the sponge helps absorbing the wet dust too.
Step 4: WAX
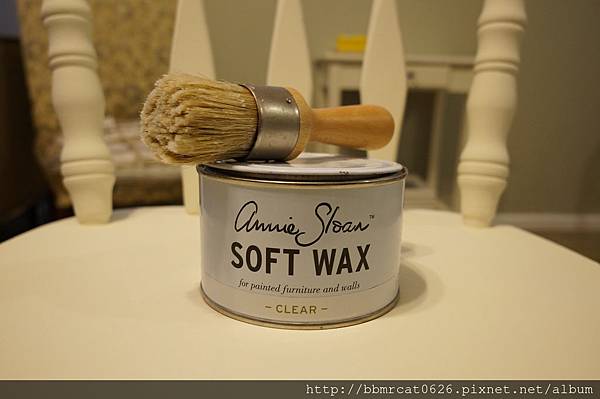
The bare chalk-painted surface has no scratch-resistance protection and will be ruined by water or heat very easily so instead of using lacquer, chalk type paint use wax as furniture finish and protection.
Today, I'm using Annie Sloan Clear Soft Wax.
Remember to work in an area with air flowing through because this wax will produce a light fume.

Just like the chalk type paint, same goes for the wax, a little will last a long way.
Apply a thin coat of wax on the designated area with wax brush and start brushing back and forth with force to even out the wax and to fill the brush strokes with wax.

Now here is the "sweating like a pig" part.
Take out an old but clean cloth, I recycled my old bed sheet and use it here, wipe off the excess wax and start buffing like there is no tomorrow.
Some people said you don't have to use a lot of force when buffing, simply just wipe the furniture with back and forth motion.
But I'll have to say that will leave you with a very waxy feeling and wax residue on your hands when you touch the furniture, and it will take months to have that piece of furniture cured properly.
So just think of this as your work-out routine!
Wipe in back and forth motion with force until the wax is absorbed nicely into the surface and leaves with smooth feel.
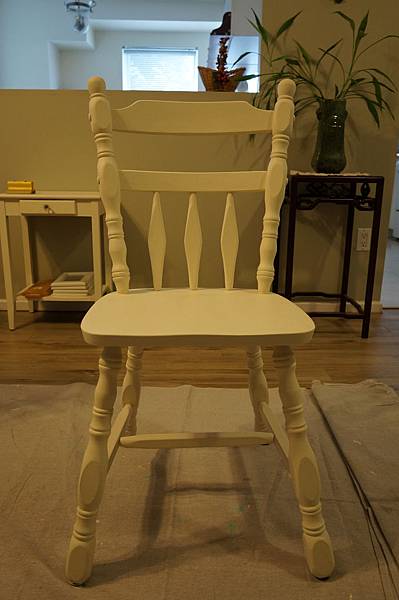


The paint color will seem to be darken a little bit with wax comparing to the area without any wax.
That's how you know if you have been through the area already or not.
The finish with wax will not be glossy, but just a softer eggshell type of low-lustre sheen.
Step 5: DARK WAX (optional)


With the dining chairs painted white, I then decided I wanted to add dark wax on to create a more girly rustic, farmhouse look.
So I soon purchased a Van Gogh Fossil Paint French Caffeine Beeswax and give the dark wax a try for the first time.
Luckily, Beeswax from Van Gogh Fossil Paint is all natural and will not produce any chemical fume like Annie Sloan's wax.
It was pretty easy to apply, the procedures are just like when using clear wax; however, this time, TINY BIT goes a long long way.
If you prefer your piece to have a vintage and weathered feel, dark wax is the way to go.
AFTER

Once old and exhaused dining chairs are refreshed, revivied and restyled to be able to brighten up a room and can be work into a dining room or kitchen with shabby chic, coastal cottage, farmhouse and country style.


 留言列表
留言列表


